The Ultimate Guide to Custom Mechanical Keyboards
The Ultimate Guide to Custom Mechanical Keyboards
Detailed Component Breakdown
1. Keyboard Case
Materials: Aluminum (premium sound), polycarbonate (resonant), wood (aesthetic), silicone (portable)
Types: Tray mount (most common), gasket mount (better sound absorption), sandwich mount
2. PCB (Printed Circuit Board)
Hot-swappable: Allows switch changes without soldering
Soldered: Permanent switch installation
RGB versions: Underglow vs per-key lighting
3. Mounting Plate
Materials: Brass (stiff feel), steel (durable), FR4 (flexible), POM (smooth)
Layout compatibility: ANSI vs ISO standards
4. Mechanical Switches
Linear: Cherry MX Red (smooth press), Gateron Yellow
Tactile: Holy Pandas (pronounced bump), Zealios
Clicky: Kailh Box Jade (loud feedback)
Spring weights: 35g (light) to 100g (heavy)
5. Keycaps
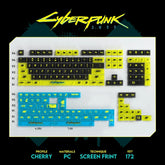
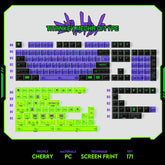
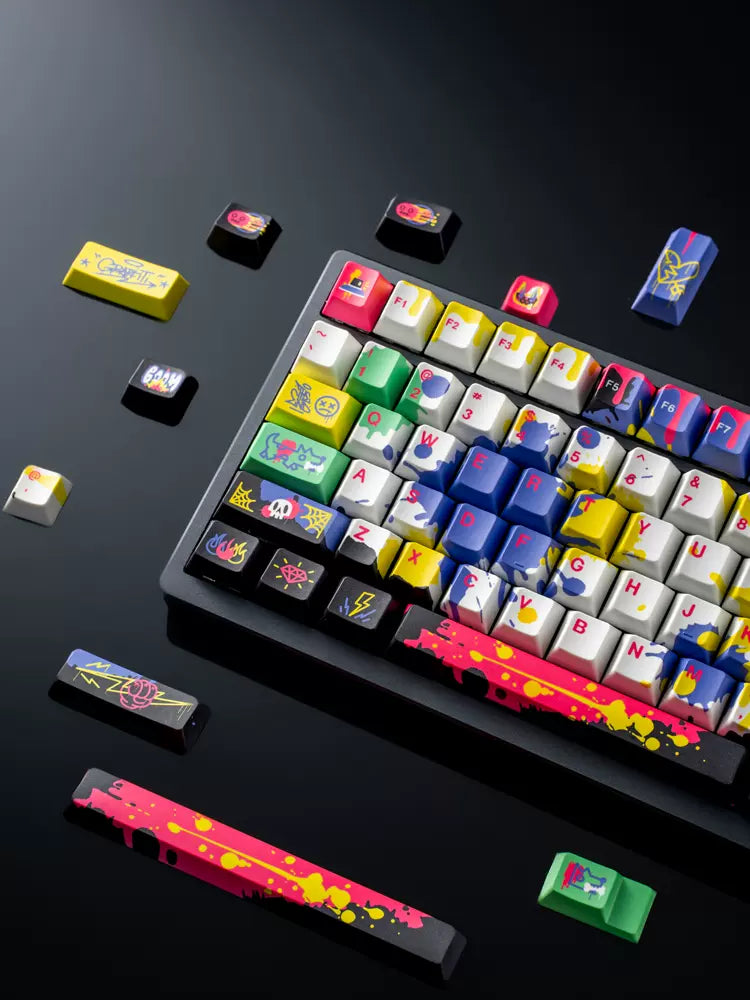
Materials: ABS (smooth texture), PBT (wear-resistant)
Profiles: SA (tall), Cherry (low), XDA (uniform)
Legends: Doubleshot (durable), Dye-sublimated
6. Stabilizers
Types: Screw-in (most stable), clip-in (easy install)
Mods: Holee mod (reduce rattle), Band-Aid mod (dampen sound)
Lubrication: Use dielectric grease for wires
Detailed Assembly Process
Step 1: Workspace Preparation
• Use an ESD mat to prevent static damage
• Organize components in labeled containers
• Prepare lighting for small components
Step 2: PCB Quality Check
• Test all switch sockets with tweezers
• Verify RGB lighting functionality
• Check USB-C port alignment
Step 3: Stabilizer Tuning
1. Disassemble stabilizer housing
2. Apply 205g0 lubricant to stem sliders
3. Pack dielectric grease into wire ends
4. Reassemble and test for rattle
Step 4: Switch Preparation
• Open switch housing with opener tool
• Apply Krytox 205g0 to spring ends
• Film switches with TX films (0.15mm)
• Reassemble switches carefully
Step 5: Plate Mounting
• Align plate with PCB anchors
• Install north-facing switches first
• Ensure proper Cherry/GMK clearance
• Test switch seating with keycap
Step 6: Final Assembly
• Install case foam layers (3mm thickness)
• Connect PCB to case with standoffs
• Torque screws to 0.6 Nm (not overtight)
• Perform ping test on spacebar
Step 7: Firmware Configuration
1. Download QMK Toolbox
2. Create keymap.json file
3. Program layer transitions
4. Test RGB effects and macros
5. Flash final firmware


